ReasonML lets you write simple, fast and quality type safe code while leveraging both the JavaScript & OCaml ecosystems. This quickstart uses ReasonReact, and lets you build webpages with React components.
- Boilerplate reasonml-react code from reason-scripts, which itself includes:
- Compiling Reason to JS
- Automatic reloading and bundling
- Using JS code from Reason
- All create-react-app features
- Deployed with the
servepackage - Dockerfile (automatically used by Hasura for deployment)
FROM node:6

RUN npm install -g bs-platform

RUN yarn global add serve

# Copy just the package.json first to install deps
ADD src/package.json /app/package.json
WORKDIR /app
RUN npm install
RUN npm link bs-platform

# Now add source code & build
ADD src /app
RUN yarn build

# Serve with serve ;)
CMD ["serve", "-s", "build", "-p", "8080"]- Press the Clone & Deploy button and follow the instructions.
- The
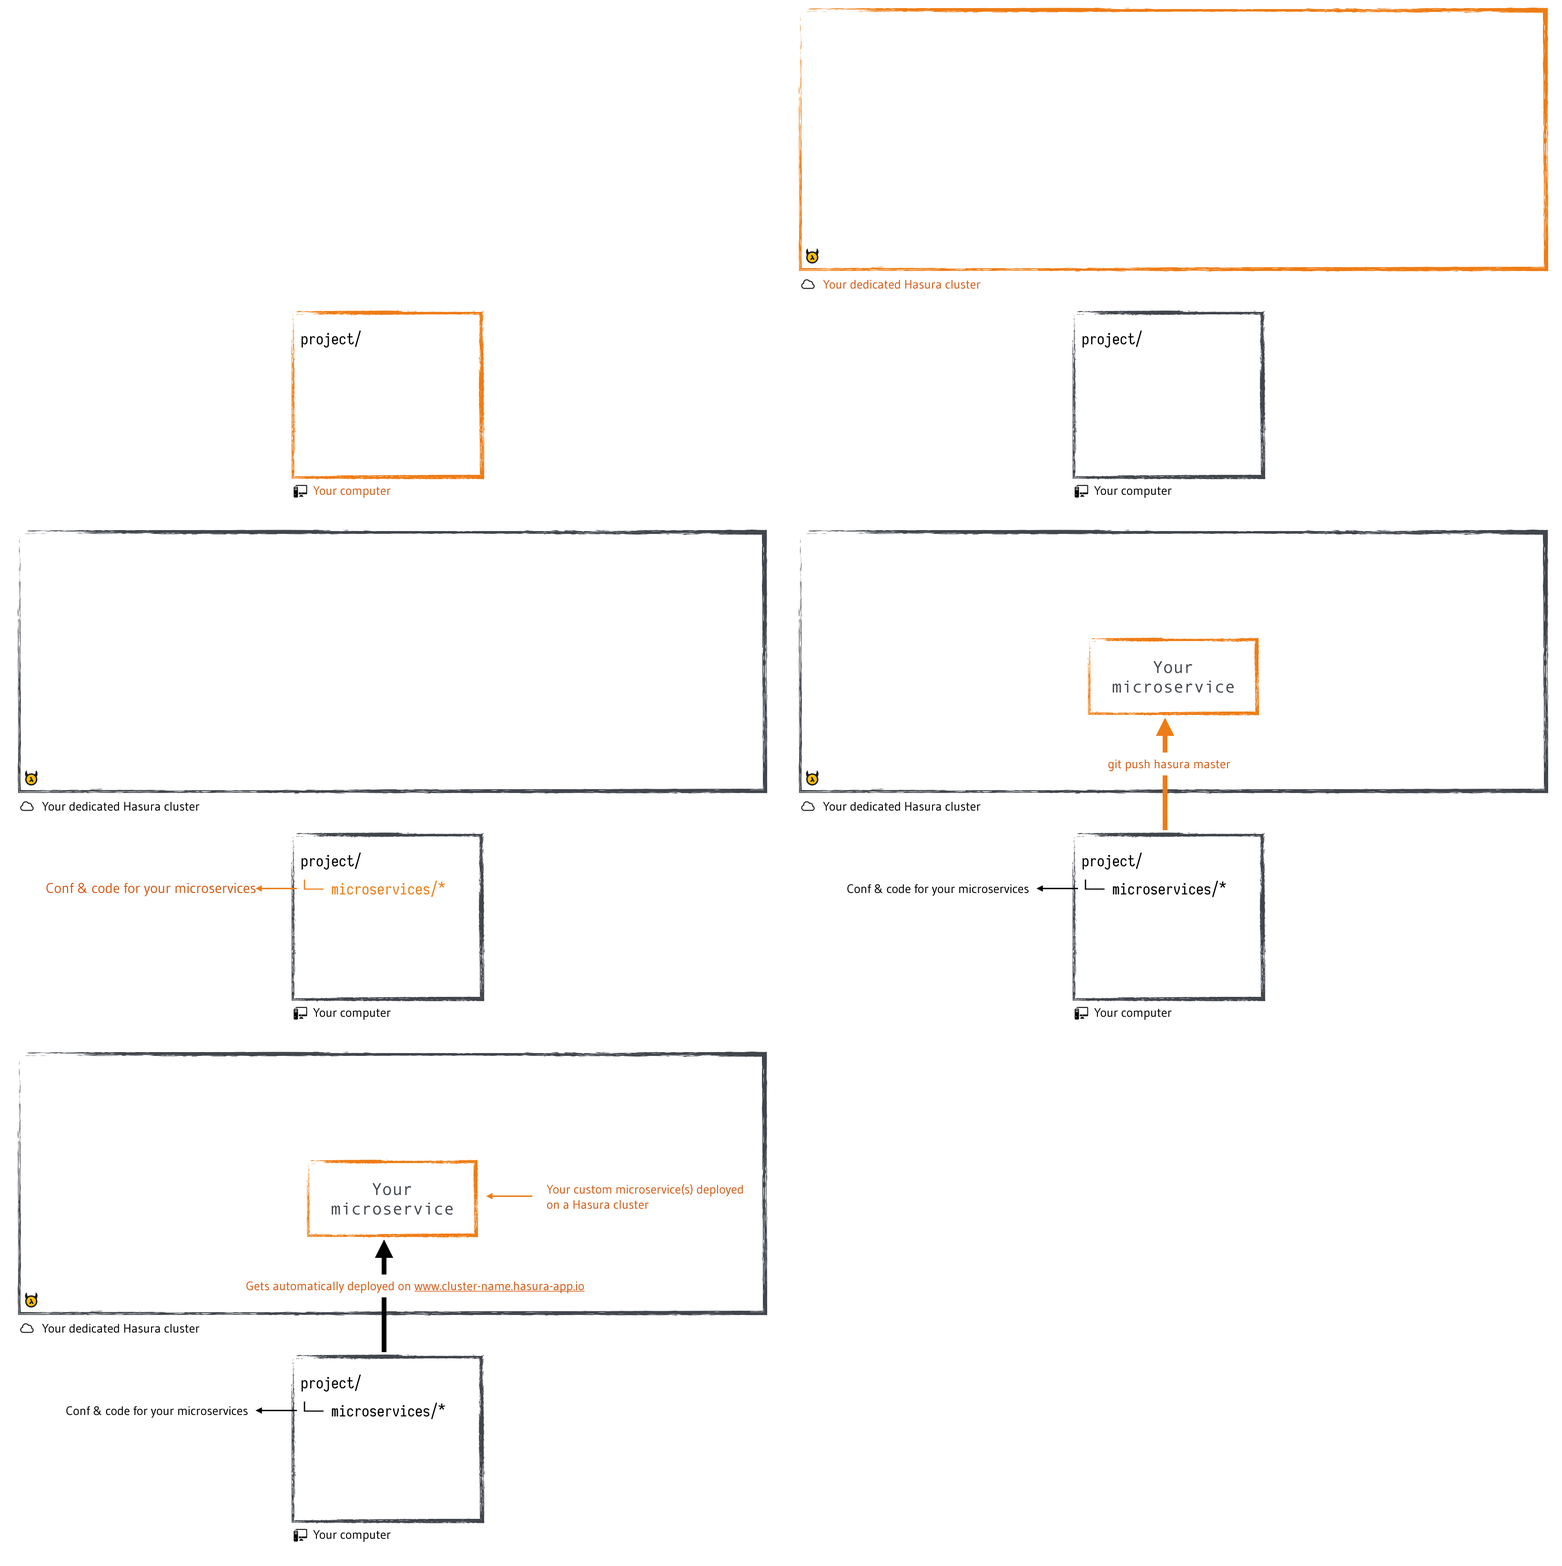
hasura quickstartcommand clones the project repository to your local computer, and also creates a free Hasura cluster, where the project will be hosted for free. - A git remote (called hasura) is created and initialized with your project directory.
- Run
git add .,git commit, andgit push hasura master. - Run the below command to open your shiny new deployed reason app.
$ hasura microservice open www- To make changes to the project, browse to
/microservices/www/srcand edit the ReasonML files insrcfolder according to your app. - Commit the changes, and perform
git push hasura masterto deploy the changes.
To test and make changes to this app locally, follow the below instructions.
- Open Terminal and
cdinto the project folder - Run
npm installto install all the project dependencies - Run
yarn startandyarn buildin the terminal to build and run it. - Make changes to the app, and see the changes in the browser
You can view the logs emitted by the ‘serve’ package by running the below command:
$ hasura microservice logs wwwYou can see the logs in your terminal, press CTRL + C to stop logging.
- System dependencies, like changing the web-server can be made in the Dockerfile
- npm/yarn deps can be managed by editing package.json.
You can use Redex (Reason Package Index) to find ReasonML packages, and you can add it to your project by running the following command:
$ npm install --save <package_name>Also add the package name under bsconfig.json
"bs-dependencies": [
    "reason-react",
    "bs-jest",
    <package_name>
  ]
If changes have been done to the dependencies, commit, and perform git push hasura master to deploy the changes.
- If you have an existing ReasonReact app which you would like to deploy, replace the code inside
/microservices/www/src/according to your app. - You may need to modify the Dockerfile if your
package.jsonor the build directory location has changed, but in most cases, it won't be required. - Commit, and run
git push hasura masterto deploy your app.
Hasura comes with a few handy tools to make it easy to add backend features to your apps.
Every project comes with an Authentication kit, you can restrict the access to your app to specific user roles. It comes with a crisp UI for Signup and Login pages out of the box, which takes care of user registration and signing in.
Follow the Authorization docs to add Authentication kit to your app.
Hasura project is composed of a set of microservices. These include certain Hasura microservices like, postgres, nginx, data API, auth API and more but can also include your own microservices.
Hasura comes with set of Data APIs to access the Postgres database which comes bundled with every Hasura cluster. You can use packages like refetch to make HTTP requests to the database. An example implementation with data APIs can be found here.
Detailed docs of data APIs can be found here.

